
Building Snapchat 👻 Lenses Walkthrough
Follow along to build you very own Snapchat Lens


This walkthrough is designed to take you from the initial setup to creating complex lenses, such as face filters, background segmentation, and hand tracking. Whether you’re a beginner or have some experience, this guide aims to provide all the necessary resources and inspiration to help you build your unique AR experiences.
It’s to help you follow along if you couldn’t attend our workshop on the same topic.

We’ll be sharing instructions you can follow along to create our demo lens (click on the link to try it out on the web). BTW it got used by 50k+ users in less than a month after publishing. Jump on that rocket before it’s too late 🚀
TL;DR
Getting started 🏁
Building the Filter 🎨
Background segmentation
Hand Tracking
Test + Publishing your Lens 🧪
Tips for building more Lenses ⚒️
Getting Started
• Download Lens Studio: Visit the Lens Studio website and download the latest version for your operating system.
• Create a Snapchat Account: If you don’t already have one, create a Snapchat account to test your lenses.
Downloads assets from our Drive (click here)
Using Lens Studio
Lens Studio is Snapchat’s powerful AR lens creation platform. It does all of the technical heavy lifting so you don’t need to worry about details such as lighting and object rendering and just can focus on being creative.
For the hard core developers, you can add custom logic using JavaScript to your lenses. You’ll love the real-time preview feature that lets you test your Lenses on your laptop and seamlessly on your phone
Building your lens
If you are planning to build along with us, now would be a good time to fire up Lens Studio. We’ll patiently wait for you ;)
Picking a template
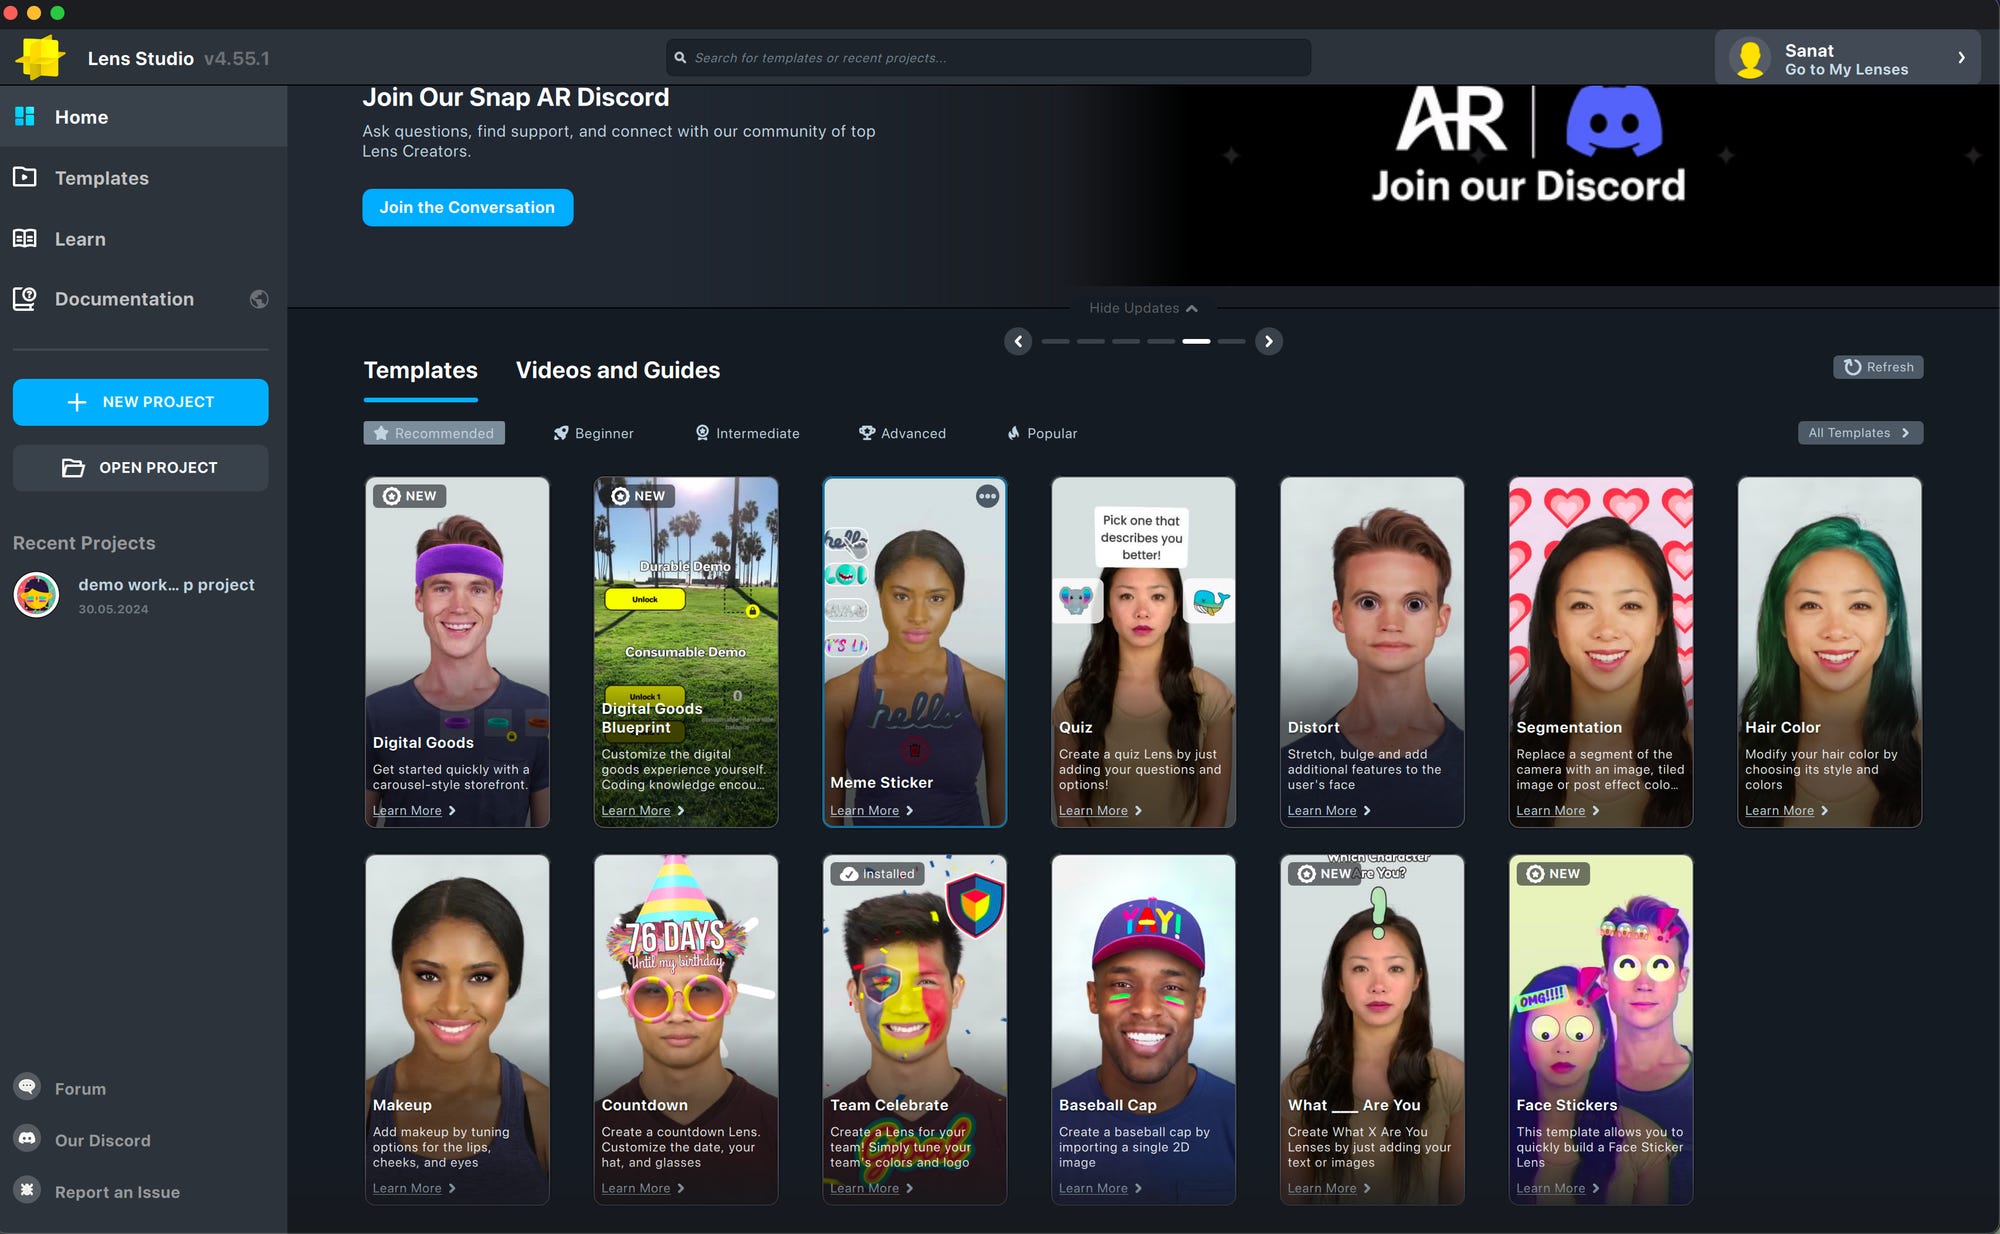
With templates to get you started, Lens Studio makes creating unique and engaging lenses. No matter what you want to build, there’s a template to get you started.
When you open Lens Studio, you’ll see all the available templates. Just click on “Team Celebration” to select it, and it will load up the project for you.
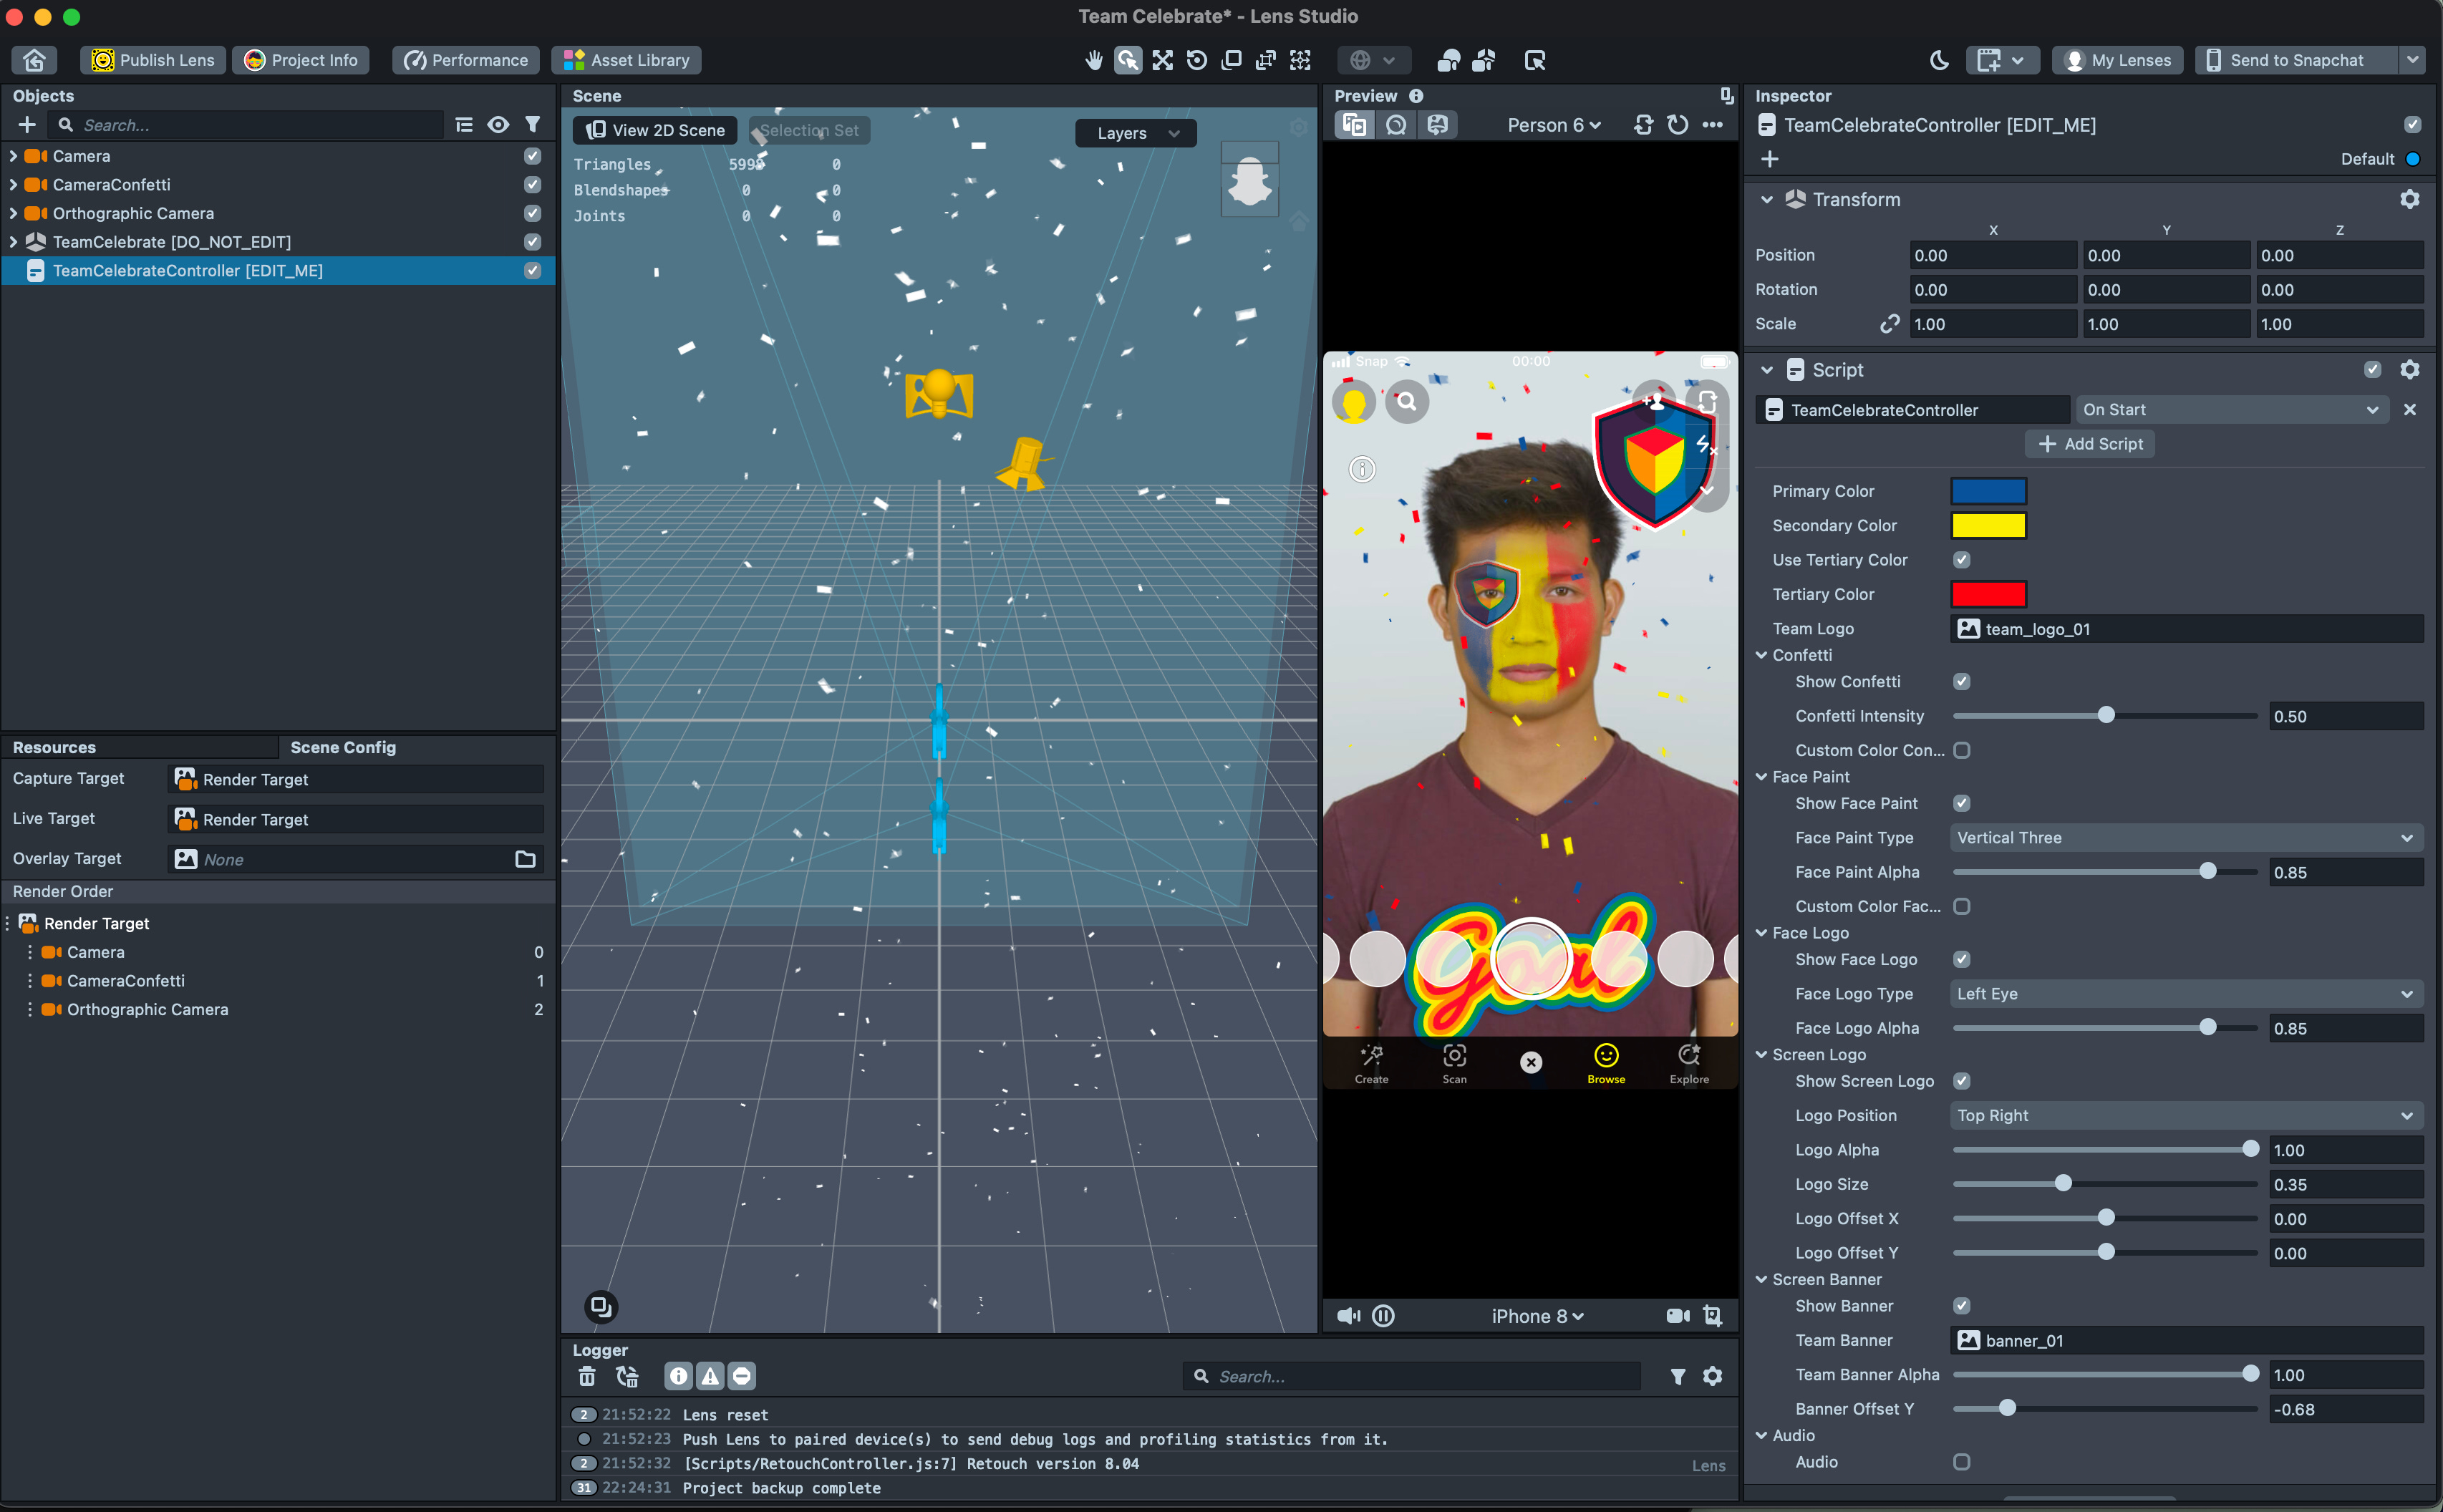
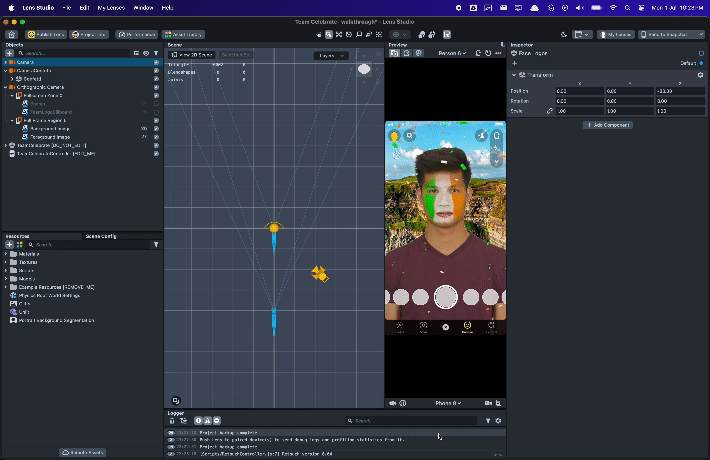
Let’s face it, the Lens Studio interface is not the most beginner-friendly. There are a lot of different panels and strange 3D-looking elements that can be confusing. This is how it looks 🙀
Don’t worry about it, we’ll help you figure it all out as we go forward with this walkthrough. We’ll explain all the panes as we use them, and you’ll be testing out your swanky new filter soon 😎
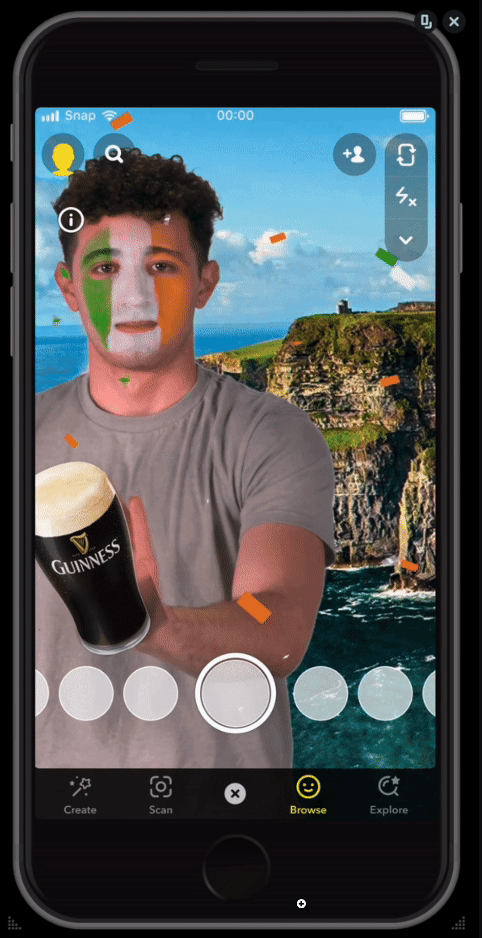
Finished Filter
There are three key techniques that we have applied in this filter, to make it pop and interactive. Face Filters, Background Segmentation, and Hand Tracking. These are all pretty basic and simple to use.
Face Filter
This would be the most simple change to implement. First, ensure you have the TeamCelebrationController selected in the Objects panel, which is located on the left side of the screen.
Once selected, turn your attention to the Inspector panel on the right side of the screen. Here, you can modify the Primary, Secondary, and Tertiary colours.
This allows you to customize the face paint to match your country’s flag or any other colour combination you prefer. We are going for an Irish theme here if you haven’t noticed.
Pro Tips
One of the most important things in the process is to try to have fun, especially when it feels like you’re getting lost or it’s too complicated. You can do this by pressing the webcam preview button in the Preview Panel.
Another tip is to try turning different layers on and off in the Objects panel to see what they do. This will help you get a deeper understanding of how the editor works. Here, we are turning off the team logo and Goal Text.
Background segmentation
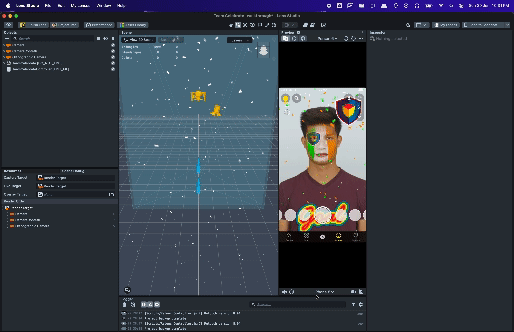
This part is perhaps the most challenging in the whole tutorial. So, please bear with us and check out the GIFs for more UI queues related to accessing different panels. Before we begin, make sure you download the Cliffs of Mother background from this link.
Step 1: Create Two Screen Images
The first step is to set up your scene with two screen images. These images will serve as the layers for your background and foreground.
• Background Image: This will be the static or dynamic image that appears behind the user.
• Foreground Image: This will be the user’s image, captured from the device’s camera, segmented from the background.
Step 2: Import the Background Image
Once you have your screen images set up, you need to import the background image.
1. Add the Texture to the Background: Import the background image you downloaded.
2. Adjust the Stretch Mode: Set the stretch mode to “Fill” to ensure the background image covers the entire screen without distortion.
Step 3: Create and Modify a New Unlit Material
Next, create a new unlit material. This type of material does not react to lighting in the scene, making it ideal for overlaying the user’s image without any unwanted shading effects.
1. Apply the Unlit Material to the Foreground Image: Assign this material to the user screen image. This step ensures the user’s image maintains its original appearance.
2. Set the Blend Mode to Normal: In the material settings for the user screen image, change the blend mode to “Normal.” This mode ensures the image is displayed without any blending effects.
Step 4: Configure the Unlit Material
With the unlit material applied, configure it to use the correct textures.
1. Set the Base Texture: Use the device camera texture from resources as the base texture. This will display the live feed from the user’s camera.
2. Add Portrait Background Segmentation: Navigate to resources > textures > segmentation > portrait bg and add this segmentation texture.
3. Set the Opacity Texture: Use the portrait background segmentation texture added in the previous step as the opacity texture. This texture will help define the areas of the user image that should be opaque.
Step 5: Adjust and Reorder the Portrait Segmentation Texture
For the segmentation to work correctly, you need to invert the mask of the portrait segmentation texture and reorder layers if necessary.
1. Reorder Layers: If the user is not visible in the frame, reorder the screen image layers in the objects panel to ensure the background layer is above the foreground layer.
2. Locate the Portrait Segmentation Texture: Find this texture in your resources panel.
3. Invert the Mask: Enable the “Invert Mask” option. This step ensures that the segmentation correctly separates the user from the background.
Step 6: Reorder Layers in the Scene Config
To finalize the setup, adjust the layer order in your scene configuration.
1. Place the Ortho Camera Above the Main Camera: This step is crucial to ensure that the confetti and face paint effects you added will appear correctly with the segmented background.
Hand Tracking
Kudos to you for getting through the background segmentation, that part is slightly tricky for beginners. If you have made it this far, you’re very close to completing your shiny new lens. I hope you’re as excited as we are to try it out 😎
Before starting, please download this amazing picture of a pint of Guinness that is going to land in the user’s hand, or feel free to replace it with something more appropriate for the lens you’re building.
Step 1: Add the Hand Tracking Component
First, you need to add the hand-tracking component to your project.
1. Open the Objects Panel: Navigate to the Objects panel in Lens Studio.
2. Add Hand Tracking: Click the “+” button and search for “Hand Tracking.” Add it to your scene.
Step 2: Import the Hand Model Image and change preview
Before configuring the hand tracking component, you need to add the hand model image to your resources.
1. Open the Resources Panel: Navigate to the Resources panel in Lens Studio.
2. Import the Image: Click the “+” button and select “Import Files.” Choose the hand-tracking image from your files and add it to the Resources panel.
3. Change Preview Settings: Click on the person drop-down menu, navigate to object tracking previews, and choose the Hand option. This will let you visualize if your hand tracking is working or not.
Step 3: Configure the Hand Tracking Component
Once the hand tracking component is added, you need to configure it to detect hand movements.
1. Select Hand Tracking Object: Choose the hand-tracking object in your scene.
2. Apply Hand Tracking Image as Texture: From the Resources panel, select the hand tracking image and apply it as a texture to the hand tracking object. This step ensures that the hand tracking image appears correctly when hand tracking is active.
Test out your lens
To test out your lens click on the webcam preview button on the preview editor. You can also test it on your phone by sending it to the Snapchat app. One of the most fun things while building, is seeing how your lens looks on yourself 🤡
Share it with the world
After creating and testing your Snapchat lens, you’re ready to publish it. Ensure your lens meets Snapchat’s guidelines.
When you’re ready to submit, open Lens Studio, click the “Publish Lens” button and complete the submission form with the lens name, description, and tags. Upload an eye-catching icon and select appropriate categories for discoverability.
Submit your lens for review. After approval, Snapchat will provide a unique Snapcode and link. Share these to promote your lens.
here is ours (Web Preview URL):

Lens Creation resources
For new lens builders, here are some valuable resources to help you get started and connect with the community:
Snapchat Resources
Snapchat Lens Studio Documentation: Comprehensive guides and tutorials from Snapchat.
Snapchat Lens Creator Community: Connect with other lens creators and share your work.
AR Platforms
Effect House by TikTok: Explore TikTok’s AR creation platform with various tools and tutorials.
Spark AR by Facebook: Facebook’s AR platform with extensive documentation and community support.
Blogs and Learning
Lenslist Blog: A blog featuring the latest trends, tips, and tutorials in AR lens creation.
AR Post: News and insights on augmented reality, including guides and case studies.
Harsh’s blog has a lot of AR tutorials similar to this tutorial.
Connecting Brands and Creators
Lenslist: A marketplace connecting brands with talented AR creators.
8th Wall: A platform for creating, hosting, and discovering augmented reality experiences.
We hope this guide has equipped you with the tools and inspiration to build unique AR experiences.
Keep experimenting with Lens Studio, and remember, you can always refer back to this guide.
If this helps you create something interesting, share it with us—we’d love to promote it on our blog to inspire others to keep building. Happy lens building!